7 Thermography Visit Prep Tips for Winter
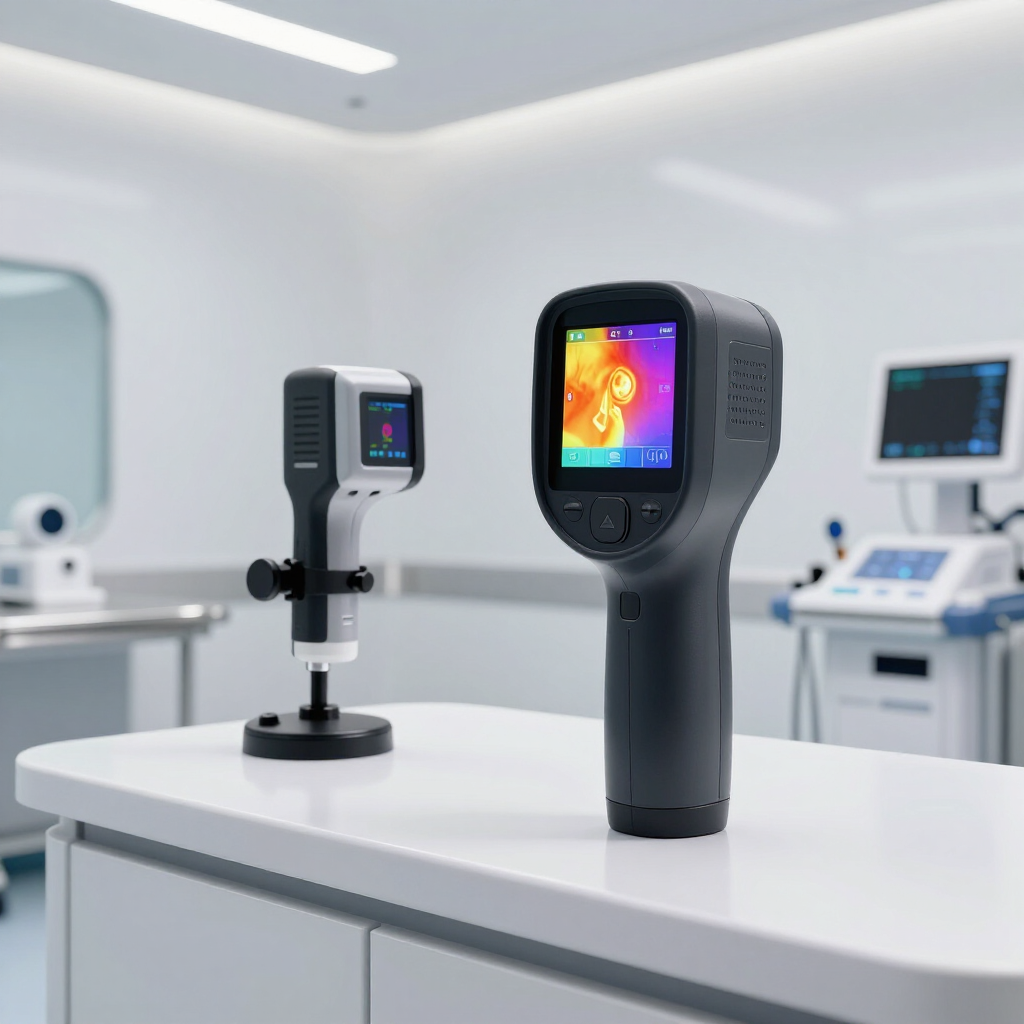
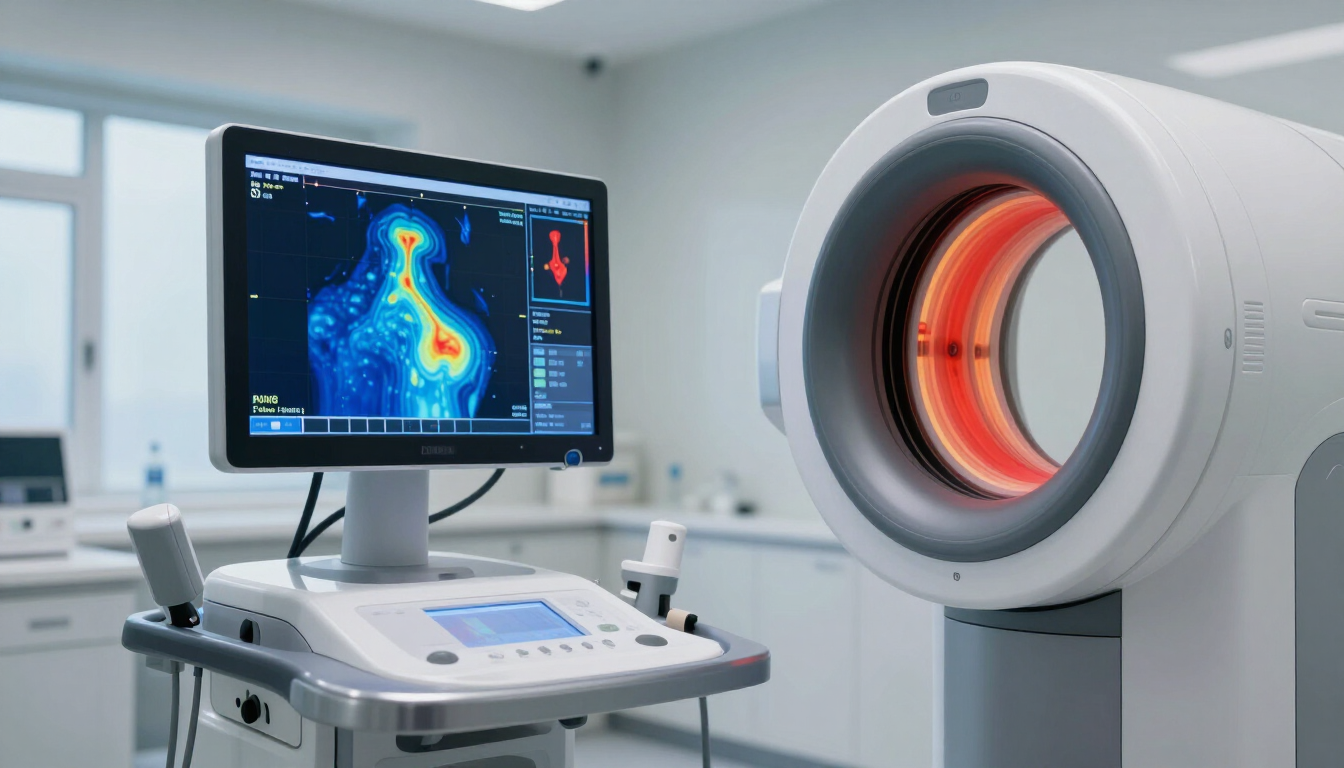
A winter thermography visit uses infrared imaging to map skin-temperature patterns across selected areas of the body. For the clearest study, arrive with your skin at its usual resting temperature: avoid recent heat, cold exposure, friction, exercise, and products that may alter surface temperature. These simple steps help support consistent, comfortable imaging.
Why does skin temperature matter during thermography?
Thermography records infrared energy naturally emitted from the skin. Because the study evaluates surface-temperature patterns, anything that temporarily warms, cools, compresses, or irritates the skin can influence the images.
The goal is not to make you uncomfortable or restrict your normal routine for an extended time. It is simply to give your body time to return to a stable baseline before imaging. Following the clinic’s pre-screening protocol is the best way to prepare for your specific appointment.
Temperature can be affected by many everyday factors, including:
- Heated seats or warm air blowing directly on the body
- Hot beverages, spicy foods, or recent meals
- Hot showers, baths, saunas, or heating pads
- Exercise, massage, or vigorous activity
- Lotions, creams, deodorant, or other products on the skin
If you are unsure whether something may affect your appointment, contact the clinic before making changes to your schedule.
7 winter preparation tips for a thermography visit
1. Skip heated car seats before your appointment
Heated seats can warm the back, hips, thighs, and other areas that may be included in imaging. Even if the weather outside is cold, direct heat may create temporary temperature differences on the skin.
If possible, turn off the heated seat before leaving home. Dress warmly enough for the trip, but avoid placing a heating pad, hot water bottle, or electric blanket against the body on the way to the clinic.
2. Allow time after traveling in the cold
Cold winter air can temporarily cool exposed skin, especially the face, hands, neck, and lower legs. Entering a warm building does not necessarily mean your skin temperature has immediately stabilized.
Plan to arrive early enough to settle in according to the clinic’s instructions. Avoid standing outside for a prolonged period, and do not place your hands directly over a radiator or vent to warm them quickly. A comfortable indoor adjustment period is generally more helpful than sudden, concentrated heat.
3. Avoid hot drinks shortly beforehand
Coffee, tea, cocoa, and other hot beverages can raise warmth in the mouth, face, neck, chest, or upper body. They may also encourage you to hold a warm cup against your hands.
Choose a room-temperature beverage instead, unless your provider has given different instructions. Follow any fasting or hydration guidance supplied during booking, and ask the clinic if you have a medical reason that affects your usual food or drink routine.
4. Do not take a hot shower immediately before imaging
A hot shower or bath can warm the skin and increase circulation for a period of time. Steam, vigorous towel drying, and rapid changes from a hot bathroom to cold outdoor air may also affect surface temperature.
Take your shower early enough to follow the recommended preparation window. Use comfortably warm—not very hot—water if you need to bathe closer to the appointment, and pat the skin dry rather than rubbing it firmly.
5. Leave lotions and creams off the imaging areas
Moisturizers, oils, balms, sunscreen, deodorant, and similar products can change the skin’s surface or interfere with a clean imaging session. Unless the clinic tells you otherwise, arrive with the areas being examined clean and product-free.
Do not scrub, exfoliate, shave aggressively, or apply a new product just before your visit. If a prescribed topical product is part of your daily care, ask the clinic how to handle it rather than stopping it without guidance.
6. Avoid strenuous activity and friction
Exercise, stretching, massage, manual therapy, and other vigorous activity can temporarily change circulation and skin warmth. Tight clothing, straps, or repeated rubbing may also leave pressure or temperature effects.
Choose loose, comfortable clothing for travel. Follow the clinic’s timing instructions for exercise and other activities, particularly if your appointment includes several body regions. You can review the general thermography process before arriving.
7. Bring questions and relevant information
A first visit is a good time to ask how the study will be performed, which areas will be included, and when you can expect your report. Bring any appointment paperwork requested by the clinic and complete the intake form if instructed.
Tell the staff about recent procedures, injuries, skin irritation, medication changes, or anything else that may be relevant to the areas being imaged. Clear communication helps the team provide useful context for the interpreting physician.
What should you wear to a winter thermography appointment?
Wear loose layers that are easy to remove or adjust while keeping you comfortable during travel. Avoid tight garments, compression clothing, heavy straps, or accessories that press on areas the clinic plans to image.
Helpful choices include:
- Loose, breathable clothing
- Warm outer layers for the trip outdoors
- Easy-to-remove shoes and garments, if requested
- Minimal jewelry or accessories near the imaging areas
- Clothing that does not require vigorous pulling or rubbing to remove
Do not intentionally underdress to “match” the outdoor temperature. The objective is a calm, comfortable arrival—not excessive cold exposure. The staff can explain how to prepare for the imaging area once you check in.
What happens when you arrive?
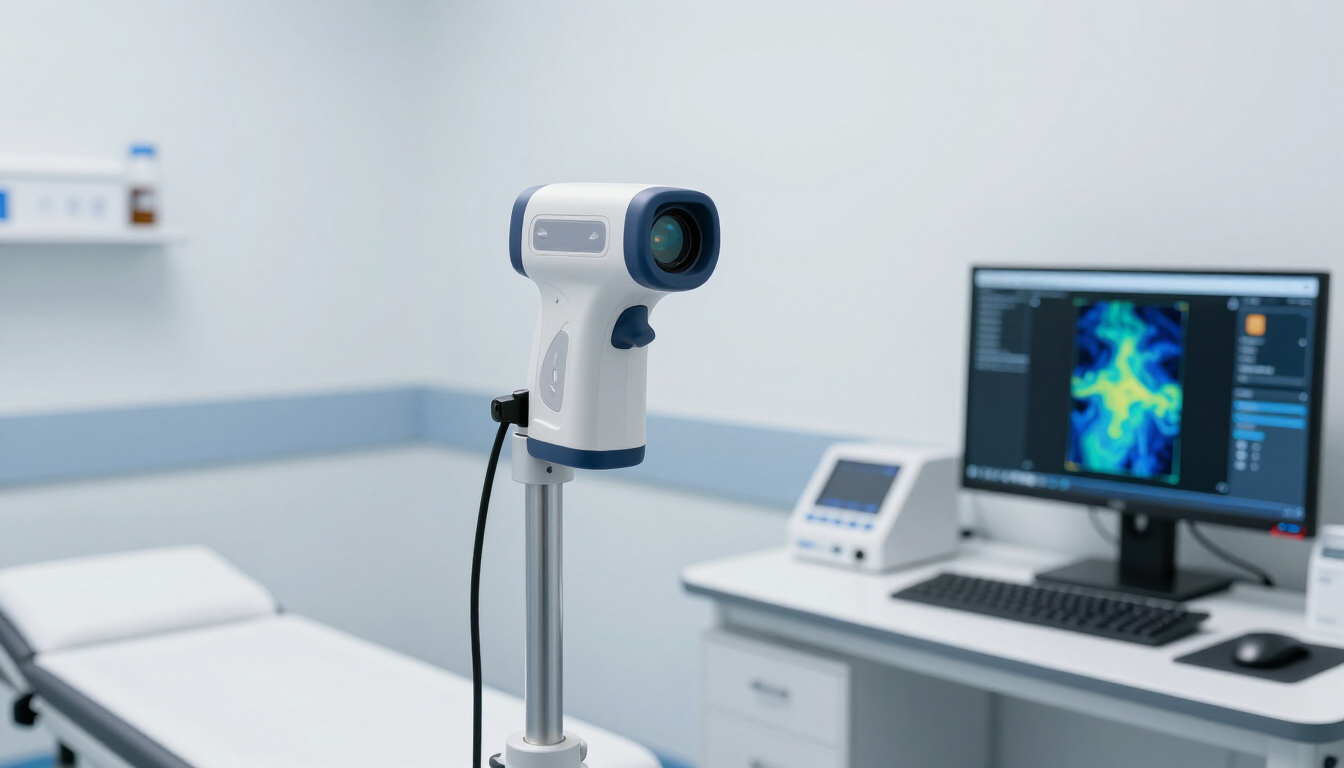
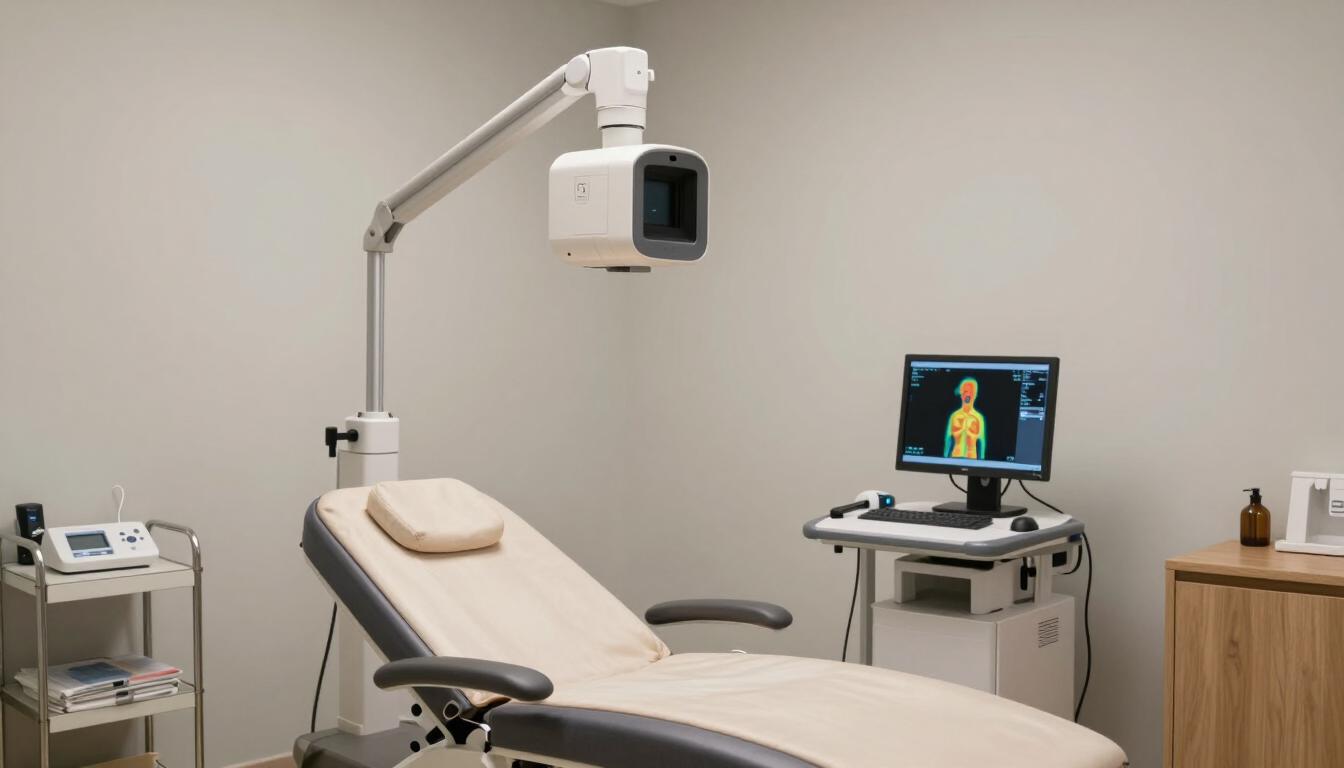
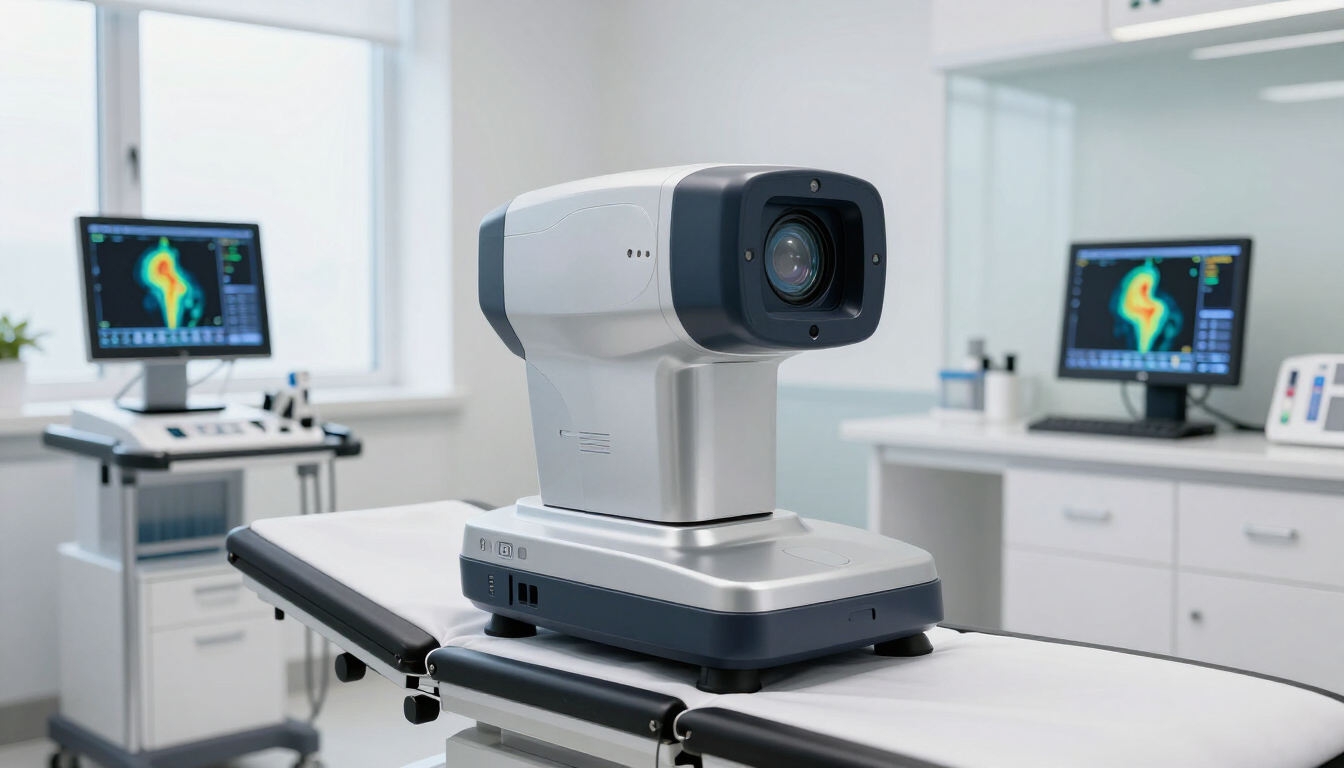
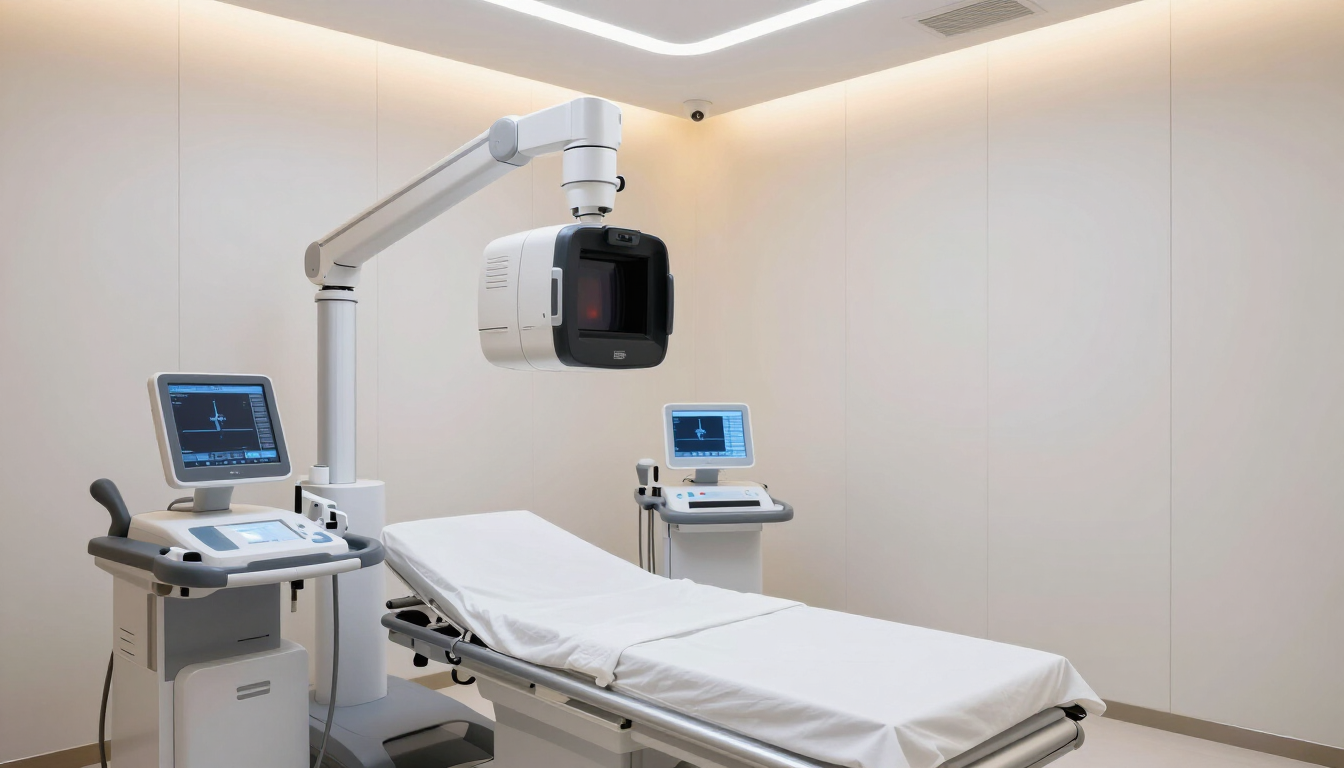
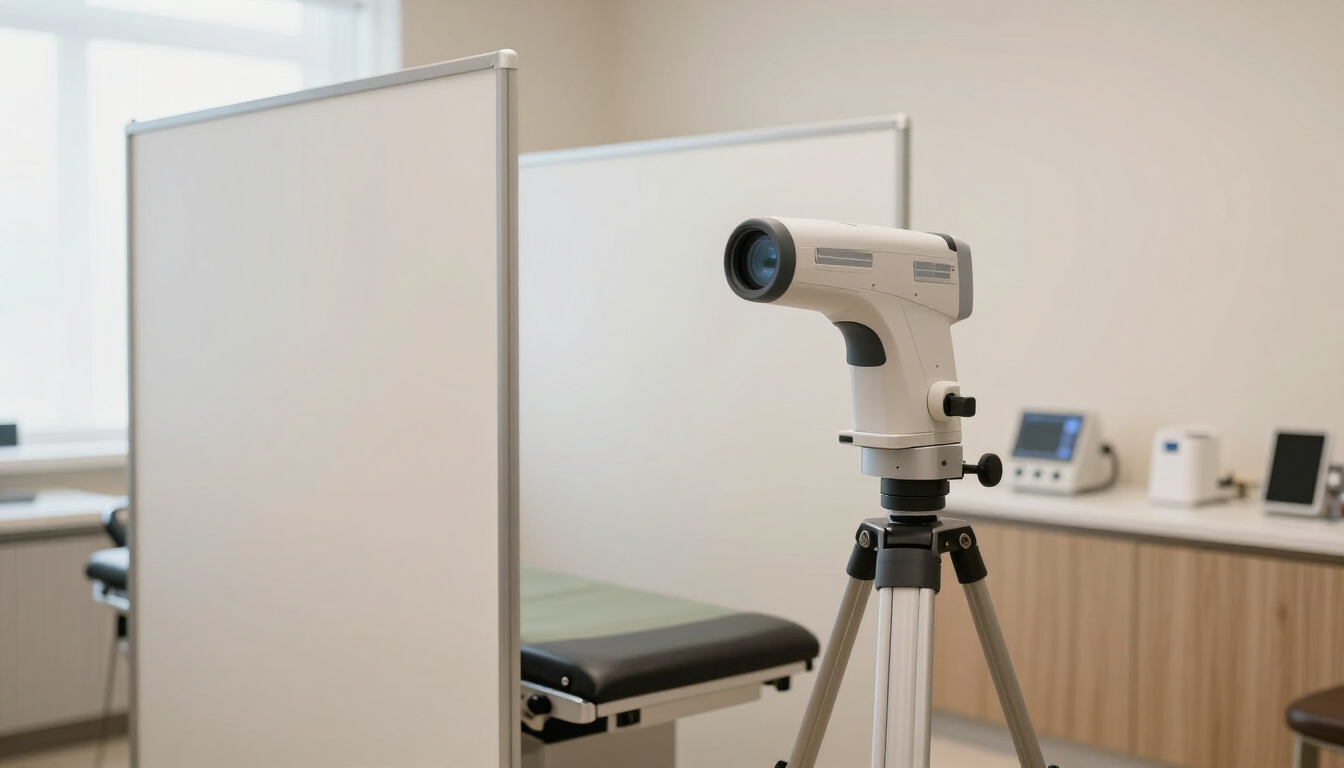
Your visit may begin with registration, a review of preparation details, and time to become comfortable in the imaging environment. The certified medical thermographer may explain positioning and ask you to remain still while images are captured.
The imaging itself is non-invasive and does not involve contact with the body. You may be asked to expose only the areas necessary for the selected study and to follow simple positioning instructions. Depending on the service booked, the appointment may include breast, upper-body, head and neck, or full-body imaging. Explore the available thermography services before your visit.
If you arrived from very cold conditions, used a heated seat, or accidentally had a hot drink, tell the staff. They can advise whether additional adjustment time is appropriate.
A simple winter checklist
Use this quick list on the day of your appointment:
- Arrive with enough time to settle indoors.
- Turn off heated car seats before traveling to the clinic.
- Choose room-temperature drinks when possible.
- Avoid hot showers, baths, saunas, and heating pads beforehand.
- Keep lotions, creams, oils, and deodorant off imaging areas unless instructed otherwise.
What if you do not follow every preparation step?
Do not panic. Preparation guidance is intended to support consistent imaging, but one missed step does not automatically mean your appointment must be canceled. Tell the thermographer what happened, including when you used heat, exercised, showered, or applied a product.
The team can determine whether you should wait, adjust the appointment, or proceed. Avoid trying to correct the issue with extreme cold or heat. A calm conversation with the clinic is the safest and most practical approach.
For questions about scheduling or preparation, contact the clinic through the appointments page or review the FAQs .
Key takeaways
A successful winter thermography visit starts with stable, comfortable skin temperature. Avoid concentrated heat from heated seats, hot drinks, hot showers, and heating products. Keep imaging areas free of lotions and avoid vigorous activity or friction beforehand. Dress warmly for travel, arrive early enough to adjust indoors, and tell the staff about anything that could affect preparation.
Thermography is an adjunctive procedure; it does not diagnose disease or replace mammography. Discuss your results and personal care decisions with your healthcare provider.